If you’ve followed the steps laid out in our Moving Checklist then you’ll have already notified your landlord about your impending move, talked to your utility providers and packed up your stuff. In our checklist there’s a section about where and when you should be cleaning your rented property, but what about if you really want to drill down into the ins and outs of a good old-fashioned deep-clean? Thankfully, that’s exactly what this post is all about . . .
Plan and prepare first
This isn’t just a weekly clean. A deep clean involves careful consideration before you dive in. It also requires some serious motivation, so make sure you’ve got some good music to listen to and some nice snacks to reward yourself with along the way.
- Check your tenancy to make sure you don’t forget to clean something that you have to.
- Get most of, if not all, of your stuff packed up before beginning so that you have a cleaner slate to work with.
- Check your equipment and make sure to stock up on things you need before beginning The Big Clean.
- Make sure you leave yourself plenty of time to clean and don’t just plan to do it the day before you move out.
- Is there anything you need to fix or any holes that need to be filled before you leave? Make sure you check with your landlord or agency before you see to these, but if you are responsible for fixing them you’ll need the correct equipment.
Every room in the house
Make sure you take down any wall hangings and nails that you put in before filling holes and painting over. For wall marks (such as where shoes have knocked into the wall) try a wall eraser, which can easily be bought online.
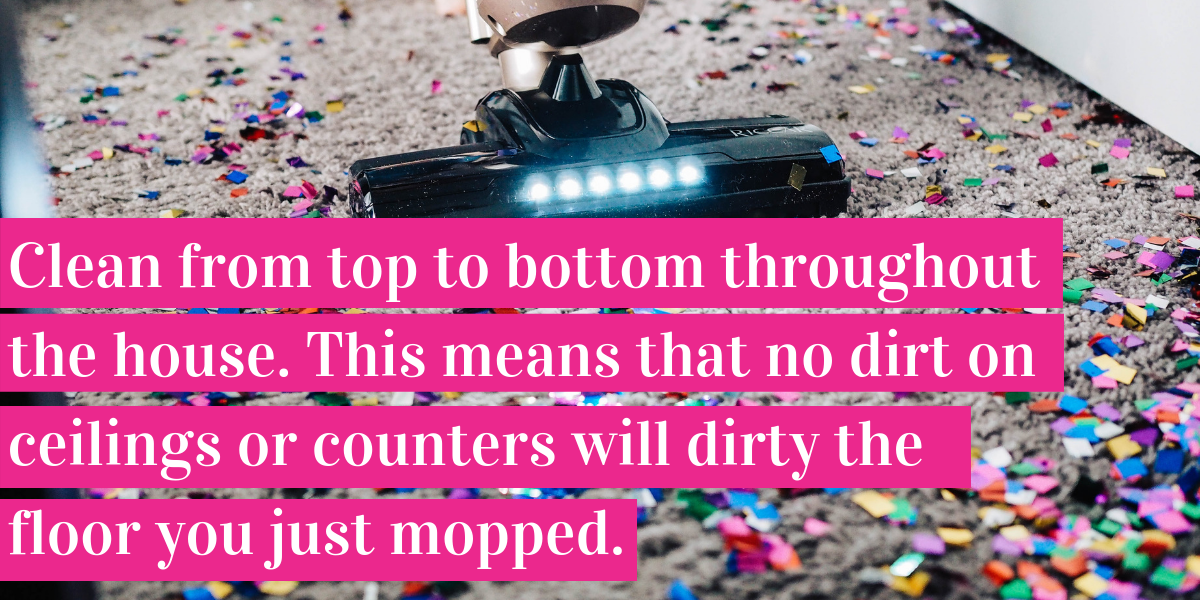
Next, dust ceiling fittings and the top corners of the room before window ledges and fittings. You can use a small, clean brush to clean slatted blinds quickly, and spot treat more stubborn marks with a damp cloth. After you’ve cleaned your window fittings, tidy them out of the way and clean the inside of your windows. If you’re responsible for cleaning the exterior of your windows you can do this after the house is fully cleaned.
- If you live in a fully-furnished property make sure to clean the furniture by removing dust and wiping.
- Polish all door handles, doors, light switches and outlets.
- Use your small brush to remove thick dust from skirting boards before wiping. This will stop the dust from balling up when you try to wipe it away. Make sure you pull furniture away from the walls before you do this.
- Vacuum your floors properly by using nozzle attachments to get at lingering dust and dirt from behind furniture and in small gaps.
- After vacuuming the room properly spot treat any marks on the carpet. If you have lino or tiled floor make sure to mop your floors with a special floor cleaner.
Cleaning furniture
If you’ve been renting a furnished home, you’ll also have to clean the furniture. Make sure to inform your landlord or letting agent if any of the furniture is broken or damaged so they can find a replacement. Clean any furniture completely of dust and wipe down to make sure you haven’t missed any splashes or dirt. Make sure you open any drawers and clean inside them too!
Banishing the dirt in the bathroom
Bathrooms can quickly get grimy, which makes them one of the more difficult rooms to tackle. Here you’ll need to:
- Clean soap scum off the tiles, bath and shower and bleach grout and sealant
- Bleach and wipe the toilet, sink and any surfaces
- Polish any mirrors and mirrored fixtures
- Vacuum the extractor fan if it’s dusty

Cooking up some cleaning in the kitchen
Focus on the harder jobs that are more time-intensive when you begin cleaning the kitchen, as it’s likely that you’ll keep using this room right up until the moment you move out. This means leaving kitchen surfaces until last, and starting jobs like oven cleaning as early as you reasonably can.
First, clean the oven. Vinegar and baking soda can help to lift up burnt on food, but you can buy oven cleaning kits that will make your life a lot easier. Don’t be afraid to hire oven-cleaning professionals – they’re hard things to clean! If you have a dishwasher, empty and clean this and clean any other kitchen appliances that were included with your property. You should also make sure to clean your extractor fan, especially if you like to do a lot of frying. Soak these in water and dish soap with a cap of white distilled vinegar to help lift any grease.
Next is the fridge and freezer. Remove as much ice as you can from these and then leave the doors open so that any remaining ice can melt away overnight. Make sure to leave some old towels underneath to catch the melted ice. You will need to clean the fridge and freezer walls and panels thoroughly, as well as both the inside and outside of the doors. Make sure to clean any food residue caught in the door seals. The last few jobs for the kitchen include:
- Cleaning all cupboard interiors and exteriors, including door and drawer handles
- Scrubbing all tiles, grout and sealant
- Cleaning and brushing behind all appliances and kitchen furniture and wipe any bins
- Descaling the kitchen sink and taps and polishing afterwards
- Making the hob gleam. If there are stubborn stains that just won’t budge then try a mix of baking soda and hydrogen-peroxide to get rid of them. Simply pour baking soda in a small bowl and add just enough hydrogen peroxide to make a paste. Apply this to the hob and let it sit for a while (around 15 minutes should be enough) before scrubbing
Once you’ve completed all these steps the last thing to do is clean and disinfect the surfaces, including counter tops and any furniture. Keep aside some cleaning wipes or a sponge when you’re packing so that you can give the kitchen a final wipe before you close the door for good.
Tackling the great outdoors
Finally, if you’re responsible for maintaining any outdoor spaces you will need to make sure these are all clean and tidy, too. Make sure any weeds are pulled, grass is cut neatly and that any furniture that hasn’t been put there by the landlord is removed. You should also brush any patios or decking areas to make sure they’re free of debris before you leave.
We hope this has helped you tackle the mammoth task of cleaning your rental property. Remember – a good playlist is a must and a trip to the pub afterwards is an essential part of the process. Good luck!